EpoxyGuard Epoxy Floor Paint Coating Kit is an easy 6 step process.
Installation Instructions:
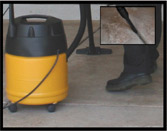 Step 1. Surface Prep.
Sweep and shopvac the floor to remove all dirt, dust, and debris, ensuring a clean surface.
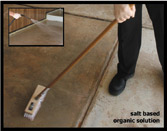
 Step 2. Oil Stains
Be sure to remove oil stains and contaminants using a degreaser. NOTE: Please review the included instructional guide and DVD prior to installation.
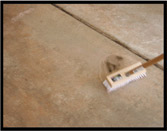
 Step 3. Profile Surface.
Use EpoxyGuard® 1 part Floor Prep Solution to 4 parts water to clean and etch the floor surface before coating. Rinse thoroughly and allow the floor to dry completely.
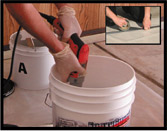 Step 4. Mixing.
Pre-mix and pour Part A and then Part B into the 6-gallon bucket (Ratio: 2 parts A to 1 part B). Begin mixing for exactly 2 minutes using a drill motor and the included mixing wand.
 Step 5. Application.
Trim all the edges using the 2-inch trim brush. Squeegee and back roll 3 to 5 foot sections until the surface area is complete.
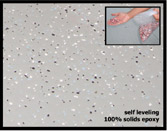 Step 6. Decorative Fleck.
Place approximately a quarter size amount of EpoxyGuard® decorative fleck into the palm of your hand and throw underhand with an upward motion into the air. Add the optional non-slip aluminum oxide to the floor if desired.
Easy as 1... 2... 3..
EpoxyGuard Epoxy Floor Paint Coating Kit Instructional DVD in English